Granite Installation
PART I - Templating With Luan
Have you ever wondered about the granite installation process? Here's pictures and notes on the installation of a New Venetian Gold
Granite basement bar top. THE step by step granite countertop installation process and how it all came together. Your process will be similar
this one.
| 1. Plans |
2. Stone Choice |
3. Getting Ready |
 |
 |
 |
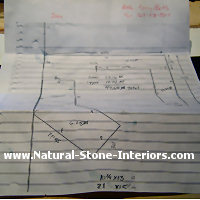
- 1. Plans - Before templating, a plan is prepared for estimating costs, figuring out how much stone is needed
and going over details such as over hang, back splash, seams, etc. Measurements are taken, outlets, arcs, curves and any obstructions are
noted as well as your sink type. Your plan might be an intricate plan drawn up by your architect,
local fabricator or even a very simplistic hand drawn plan submitted by you.
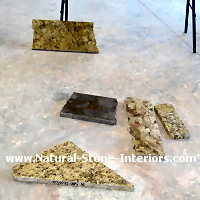
- 2. Stone Choice - If you haven't decided on a stone yet, this is where you bring small samples, scraps or
remnants home to look at the stone in your surroundings. Which stone looks best with your cabinets? Your decor? Under your lighting? Stones
look different in your home compared to in a showroom. John was originally stuck between Tan Brown or Santa Cecilia Granite. After taking
samples home, he went with New Venetian Gold Granite.
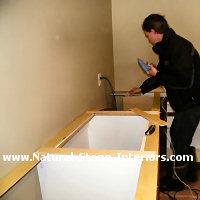
- 3. Getting Ready - This particular job was templated using Luan. Luan is a really thin plywood like substance -
it's so thin it can be cut with a razor knife and snapped. Not all granite installation templates use Luan. Sometimes a thin plastic sheet is
used. This plastic sheet is super thin, easy to razor and transport. Other fabricators use cardboard or laser templating tools.
| 4. Gluing Luan |
5. Putting In Braces |
6. Checked For Snugness |
 |
 |
 |
- 4. Gluing Luan - A hot glue gun is used to secure the templated luan pieces together.
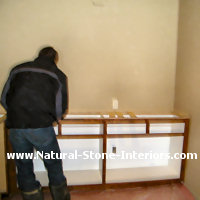
- 5. Putting In Braces - Thin braces are used throughout the center of the template to strengthen it for
transporting.
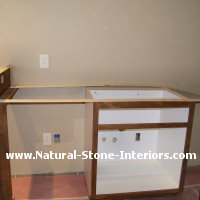
- 6. Checked For Snugness - The granite installation template is checked to make sure everything is tight to
the walls and lined up perfectly. Most walls aren't square nor straight. The template assures a snug fit. This template will eventually be
laid on the stone and traced onto it (adding in any over hangs).
| 7. Sink Is Marked |
8. Seams |
9. Polished Sides & Overhang |
 |
 |
 |
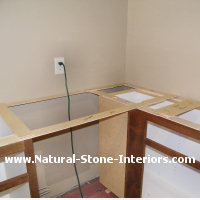
- 7. Sink Is Marked - The center of the sink is marked as well as the sink set back (how far back is it from
the edge of the counter top). Your faucet preferences are noted (one hole, two holes, center left, etc.) as well as the faucet
dimensions. These are double checked to make sure there is enough clearance for it to work properly.
- 8. Seams - If seams are needed, your preferred location is marked on the template. Also marked is where seams
should not go, such as over a dishwasher.
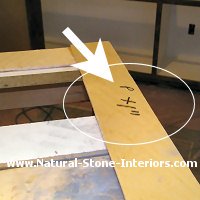
- 9. Polished Sides & Overhang - Every outside edge is marked with a "P" for a standard polished edge,
"OG" for ogee edge, "FB" for full bullnose, etc. A "W" for wall (no need to polish this edge), or "C" for cabinet. This means it is
next to a cabinet and the cut has to be SUPER PRECISE - no back splash to hide any mistakes! Anywhere there is an over hang, it's marked on
the template... the number of inches is written right on the template so there are ZERO mistakes.
PART II Granite Countertop Installation
Here's MORE Granite STUFF:
Return from Granite Installation Part I to
Granite Counter Tops Info
Return from Granite Installation Part I to
Natural Stone Interiors Home


